Create dimension and interest to your card front using a double matted frame to highlight your image.
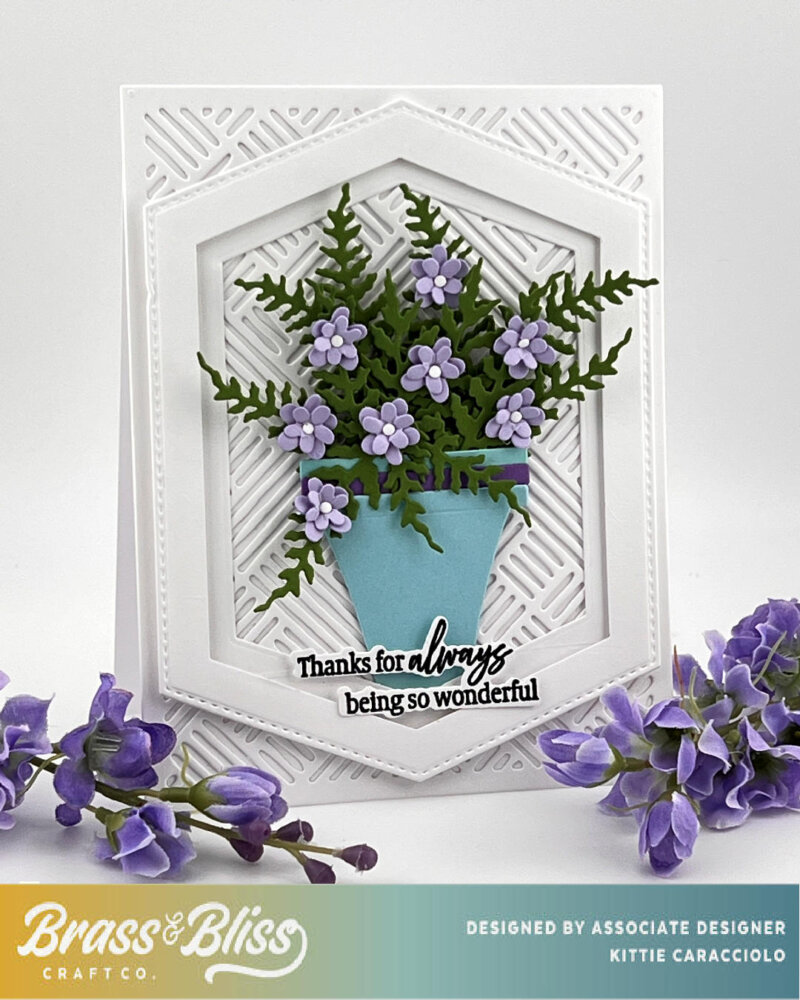
I love that Brass and Bliss added the newly released Fern Leaves set that creates more opportunities for floral designs. I highlighted my bouquet with a double matted frame using the new Tall Hex Nesting set to create dimension and finished using the Large Garden Pots. Thank You Stamp, Thank You Coordinating Die, Basket Weave Cover and Small Flowers #3.

Card Base and Double Matted Frame
Cut an A2 sized card base the the cover using white cardstock. Attach the cover to the base using double stick tape around the back of the cover frame border.
Use the largest hex die to cut a layer, line up the layer on the cutting platform with a smaller die and run through the machine to create the frame. Repeat these steps to create a smaller frame and attach it to back of the larger frame using pieces of mounting tape.
Bouquet and Sentiment
Use colored cardstock to to cut the vase and small flowers. Form the flowers with a small tipped stylus and molding pad and attach the large and small sections together using Nuvo glue.
Cut several sections of fern and begin attaching 4 sections to the back of the vase. Continue adding sections to the back of the ferns to fill in and create the arrangement. Make sure to offset each fern for a more natural design. Check out my Ivy Floral Design Video to see the steps for adding the foliage. In the video I attached flowers to the foliage first but you can do it either way.
Stamp the sentiment and use the coordinating die to cut it out. Attach it to the vase using small pieces of mounting tape.

Here are the products that I used to make this project. You can see the whole new September release here.
|


I hope you have been inspired to create a double matted frame on a project of your own.
I love this idea of double matting!
Thank you so much, Kathie.